If Your Roof
One Leak at a Seam, Boot or Curb
The membrane around it is firm, and moisture readings stay dry a few feet out.
Start WithSpot Repair With Matching Material


Call a Paducah commercial roof repair contractor to trace a leak to the seam, flashing or fastener letting water in and repair it with matching material.
As a Paducah commercial roof repair contractor, we sort every leak call into one of these four situations before quoting any work.
The membrane around it is firm, and moisture readings stay dry a few feet out.
Several laps are failing, yet core cuts show dry boards and one existing layer.
Panels are still solid steel, with rust limited to fasteners and end laps.
Moisture readings mark wet boards over much of the roof, and patches keep failing nearby.
Ceiling stains rarely sit right under the opening. On a commercial roof leak repair in Paducah, these are the parts we check first.
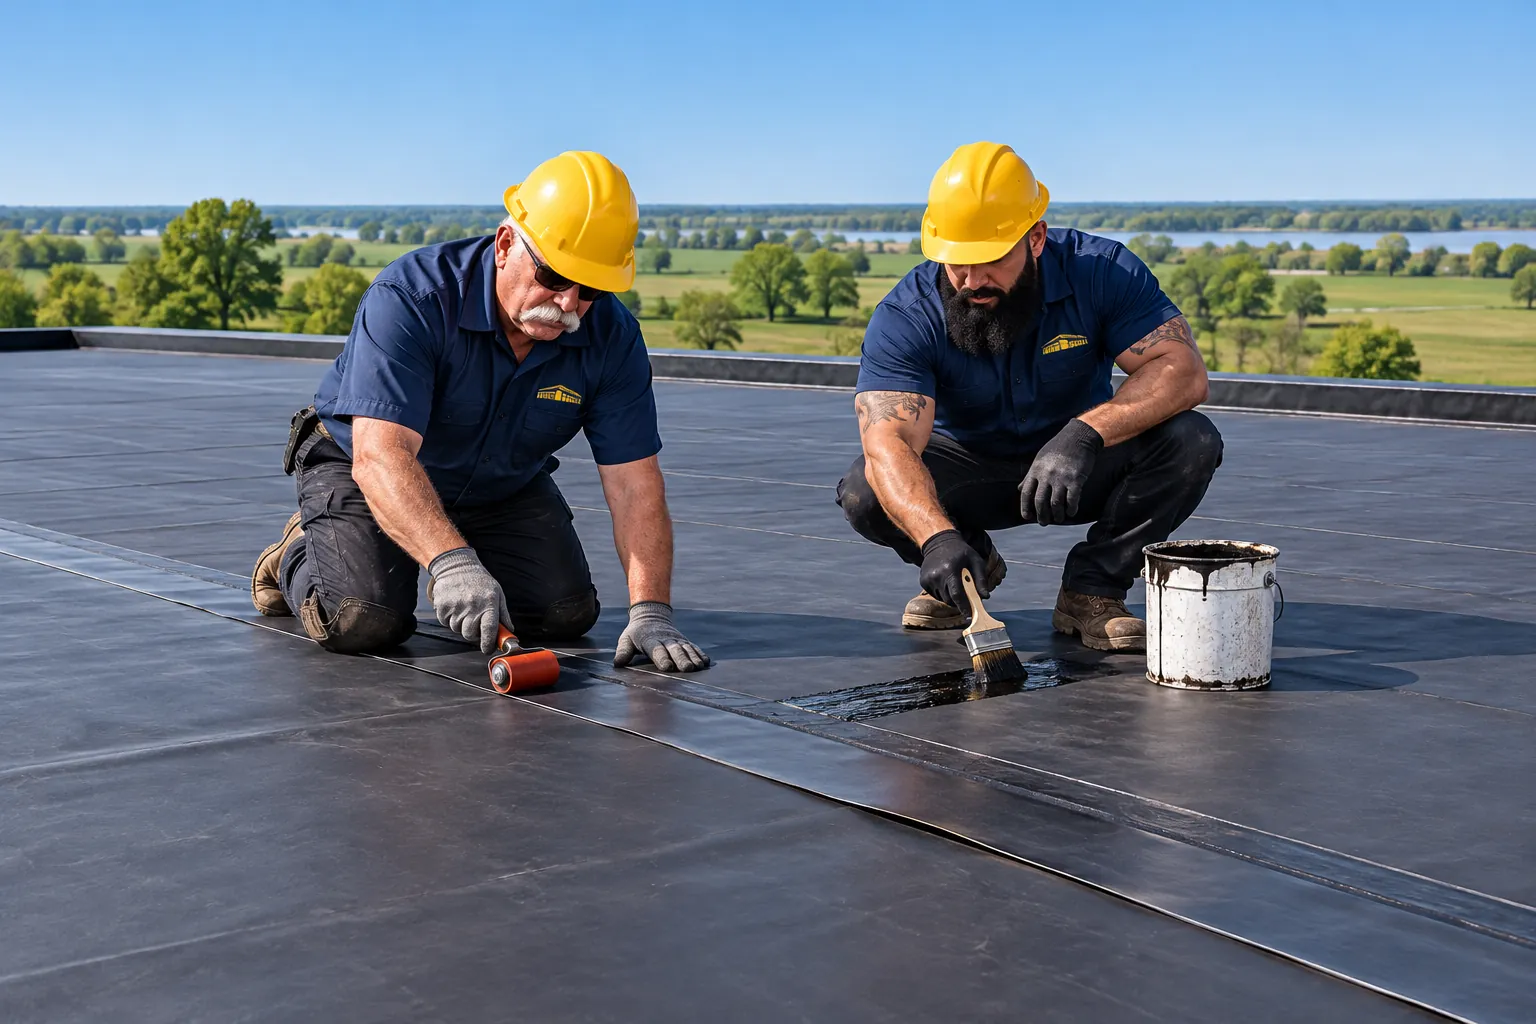
Older EPDM roofs joined with liquid splice adhesive open at the laps first. Water runs along the lap, slips under its edge and travels across the deck before it drips through a ceiling tile several feet from the opening.
Usually Means: Clean, prime and tape the lap; reglue only the failed sections.
Cracked pipe boots and short curb flashing let wind-driven rain run behind the membrane at rooftop units.
Washers crack and screws back out with heat cycling, leaving open holes along every purlin line.
Counterflashing pulled out of the mortar joint lets water down behind the membrane at the parapet.
A loose or broken clamping ring lets water slip under the membrane right at the drain bowl.
Each repair uses parts matched to the roof already on the building. The table shows the usual fix for each failed part and where repair stops making sense.
| Failed Part | Roof Type | Repair Made | Repair Stops When |
|---|---|---|---|
| Split seam or weld | TPO | Cleaned, prepped and welded patch | Welds fail across many laps |
| Open lap | EPDM | Primed lap with new seam tape | Laps open across the field |
| Cracked pipe boot | TPO or EPDM | New molded boot and clamp | Wet insulation spreads around it |
| Backed-out screws | Metal R-panel | Larger screws with new washers | Steel rusts thin at the eaves |
| Open end lap | Metal R-panel | New butyl tape and stitch screws | Panel ends rust through |
| Loose coping | Any low-slope roof | Coping reset on continuous cleats | The wall itself is wet or crumbling |
Repairs on an aged sheet start with cleaning the surface, since new material only holds to clean, prepped membrane.
When the rest of the roof is dry and firm, a targeted repair pays off on the roof, inside the building and in the budget.
TPO patches are welded, EPDM laps are taped and metal laps get butyl and stitch screws, so each repair moves with the roof around it.
Moisture readings around the leak mark how far water spread, and the few wet boards come out before they rust the steel deck.
Closing the entry point ends the drip that rots ceiling tile, soaks pallets and reaches light fixtures under the leak.
Repairs happen in one area of the roof, so loading docks, offices and production floors below keep running.
Paying for one failed curb or lap, rather than a full tear-off, keeps money set aside for the day the roof needs replacing.
Photos and notes from every repair build a history that shows when patches on the roof start failing faster than they hold.
Call us with where the water appears inside and which way the wind blew. That narrows down the seam, curb or wall flashing to check first.
Each repair follows the same order, from tracing the water to testing the finished patch.
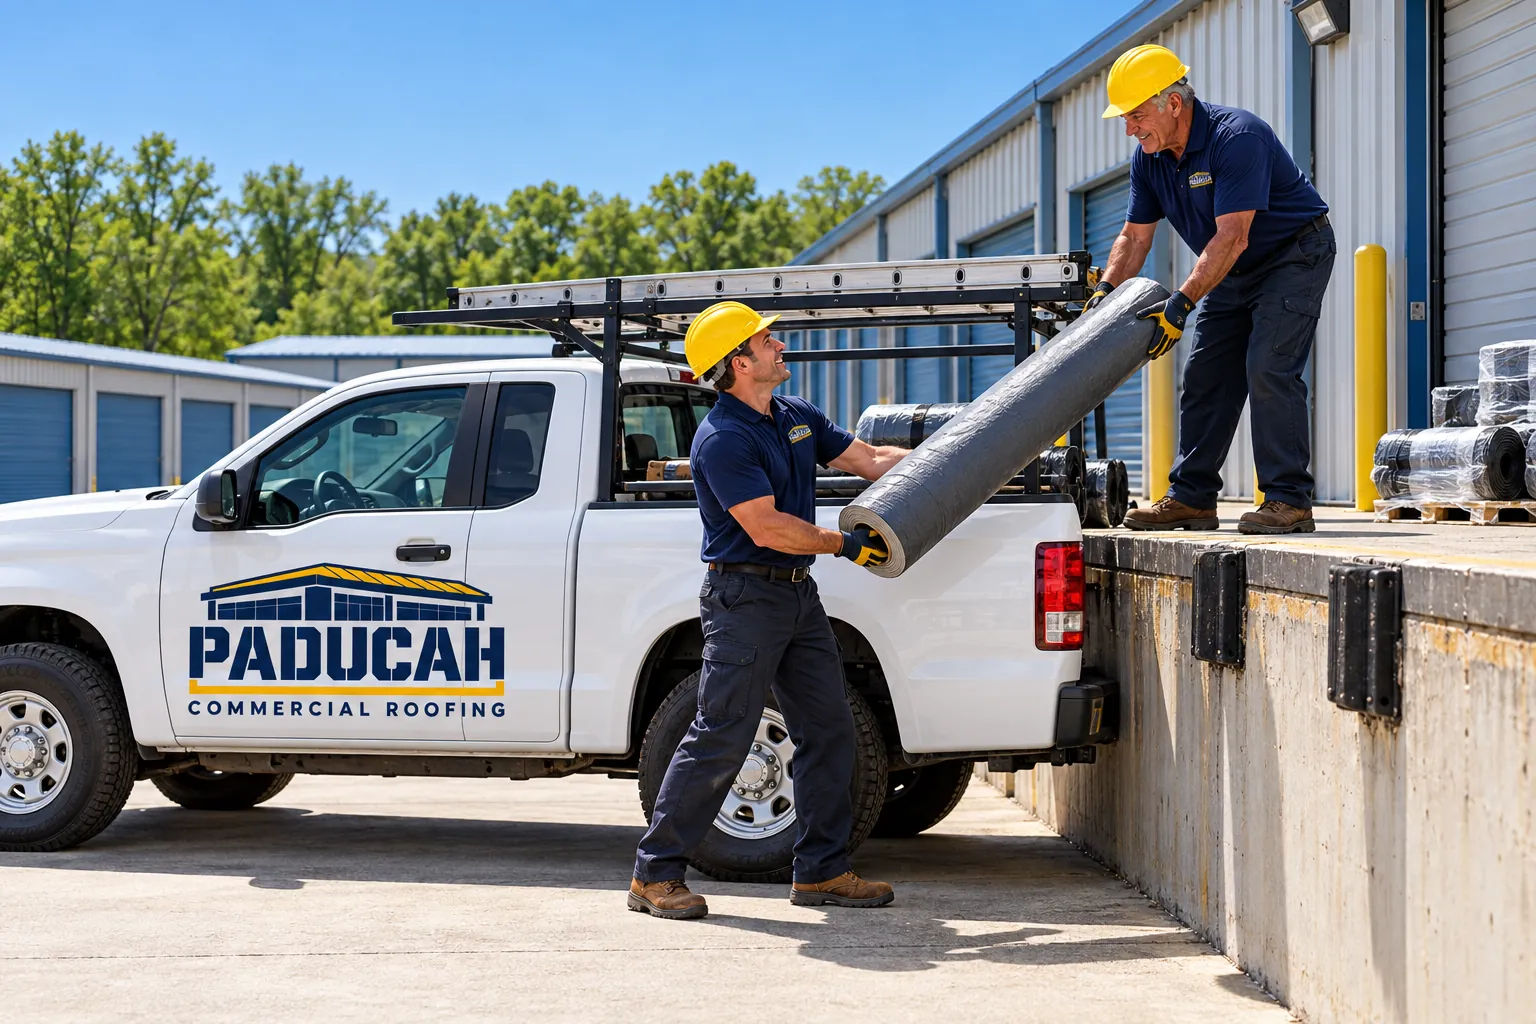
We start at the stain inside, then walk the roof above it, checking seams, boots, curbs and wall flashing uphill from the drip until we find where water enters.
Moisture readings and a small core around the opening show how far water traveled, which sets the edge of the repair before any material is cut.
Patches, boots, tape and screws are matched to the membrane type, thickness or panel profile already on the roof, so the repair moves with it.
Failed laps are cleaned and primed or welded, wet boards are replaced, and flashing is reset so the upper piece laps over the lower one.
Welds are probed, taped laps are rolled and checked, and you get photos of the finished repair with notes on anything else worth watching.
If the inspection finds more than one bad spot, the next step is usually one of these.
Weld failures across many laps on an older white roof point toward a new TPO membrane over dry or replaced insulation.
TPO roofing in PaducahLeaks that keep returning around drains come from ponding, which tapered insulation on a flat roofing job corrects.
Flat roofing in PaducahRusted end laps and backed-out screws on shops and barns get fixed through metal roof repair and seasonal upkeep.
Commercial metal roofingOwners dealing with a leak ask these first. The short answer is on each row.
A flat roof leak rarely sits directly over the stain inside. Water enters at a seam, boot or curb, then runs along the deck flutes or under the membrane before it drips. We mark the stain, walk the roof uphill from it, and probe seams and flashing until the entry point turns up, then readings show how far it spread.
Repair makes sense when the leak sits at one seam, boot or curb and the insulation around it is dry. Replacement takes over when seams are opening across the field, repairs keep failing in new places, or moisture readings show wet boards across a large share of the roof. A roof walk with readings settles it.
A tarp or a quick bead of surface sealant only buys time until the real repair. Tarps lift in wind and hold water against the membrane, and sealant smeared over a split weld lets go as the roof moves. The lasting fix replaces the failed part with matching material after any wet insulation around it comes out.
Yes. Every repair starts by identifying the membrane, its thickness or the panel profile already in place, then using the same material and method. TPO gets a welded patch, EPDM gets primed seam tape, and metal gets same-profile panels or larger screws. Mixing materials that do not belong together is what makes repairs fail early.
Write down where water shows up inside, which storms bring it, and whether it drips during rain or hours afterward. Photos of the stain and of the roof area above it help too, along with any recent rooftop work by HVAC or electrical contractors. Those details point the roof walk toward the right seam or curb.
Tell us where the water shows up and what kind of roof is overhead. We will trace the leak and give you a free estimate for the repair.
Want A Call About Your Roof?
Leave your name and number and we will call you back about the roof.
Or call now: (618) 386-4443